So let's see where I'm up to.
A lot has happened since I was last here. Around my last posts in 2017 I had made the decision to drop 6mm projects in favor of 15mm. This in part was due to eyesight adjusting and making it harder to paint but also a renewed interest in unit distinctions and painting skills.
I am still however a gamer over a painter but I do spend a little more time and effort researching uniform and equipment colors as well as a desire to improve my overall painting and modelling skills. My perfectionist character traits will continue to tell me I will never get painting or modelling skills to the level I envisage but that too is a journey I am on - to allow myself to not be perfect and find that line between good and not good enough.
Here is the current list of projects I am engaged on and the status of each as the new beginning point for the resurgence of this blog:
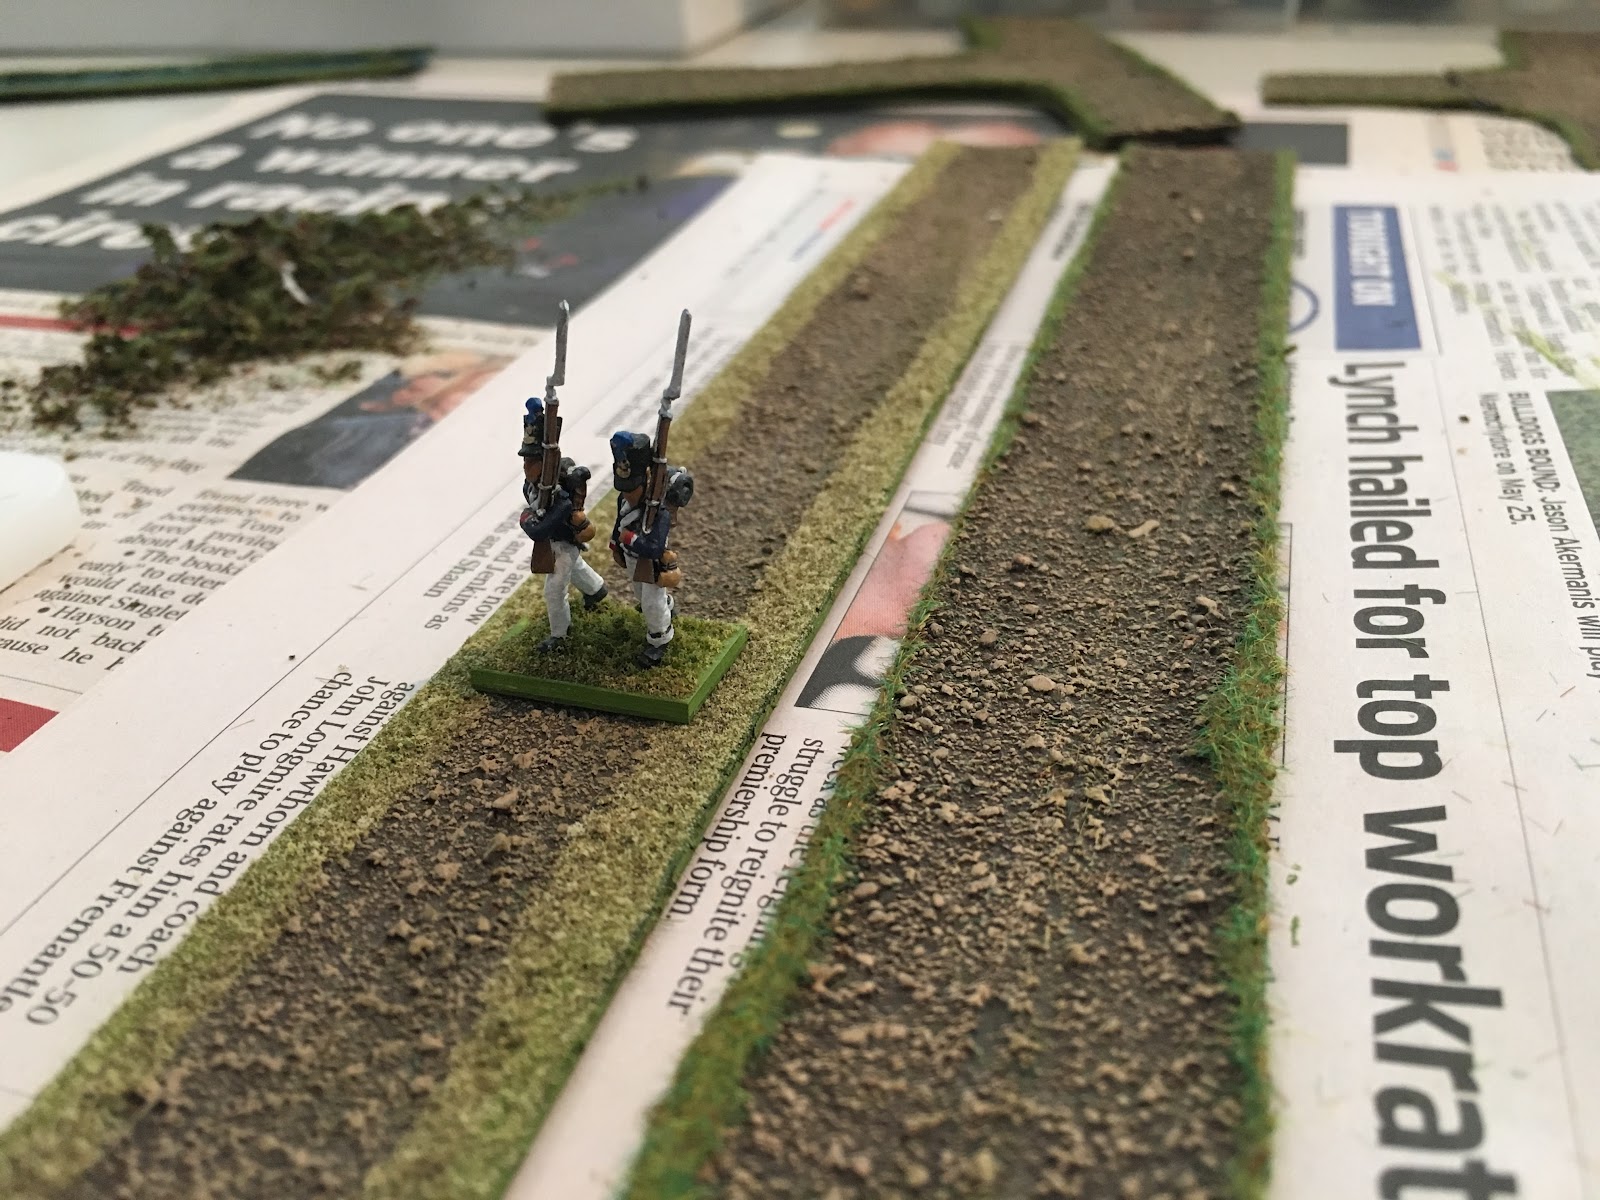
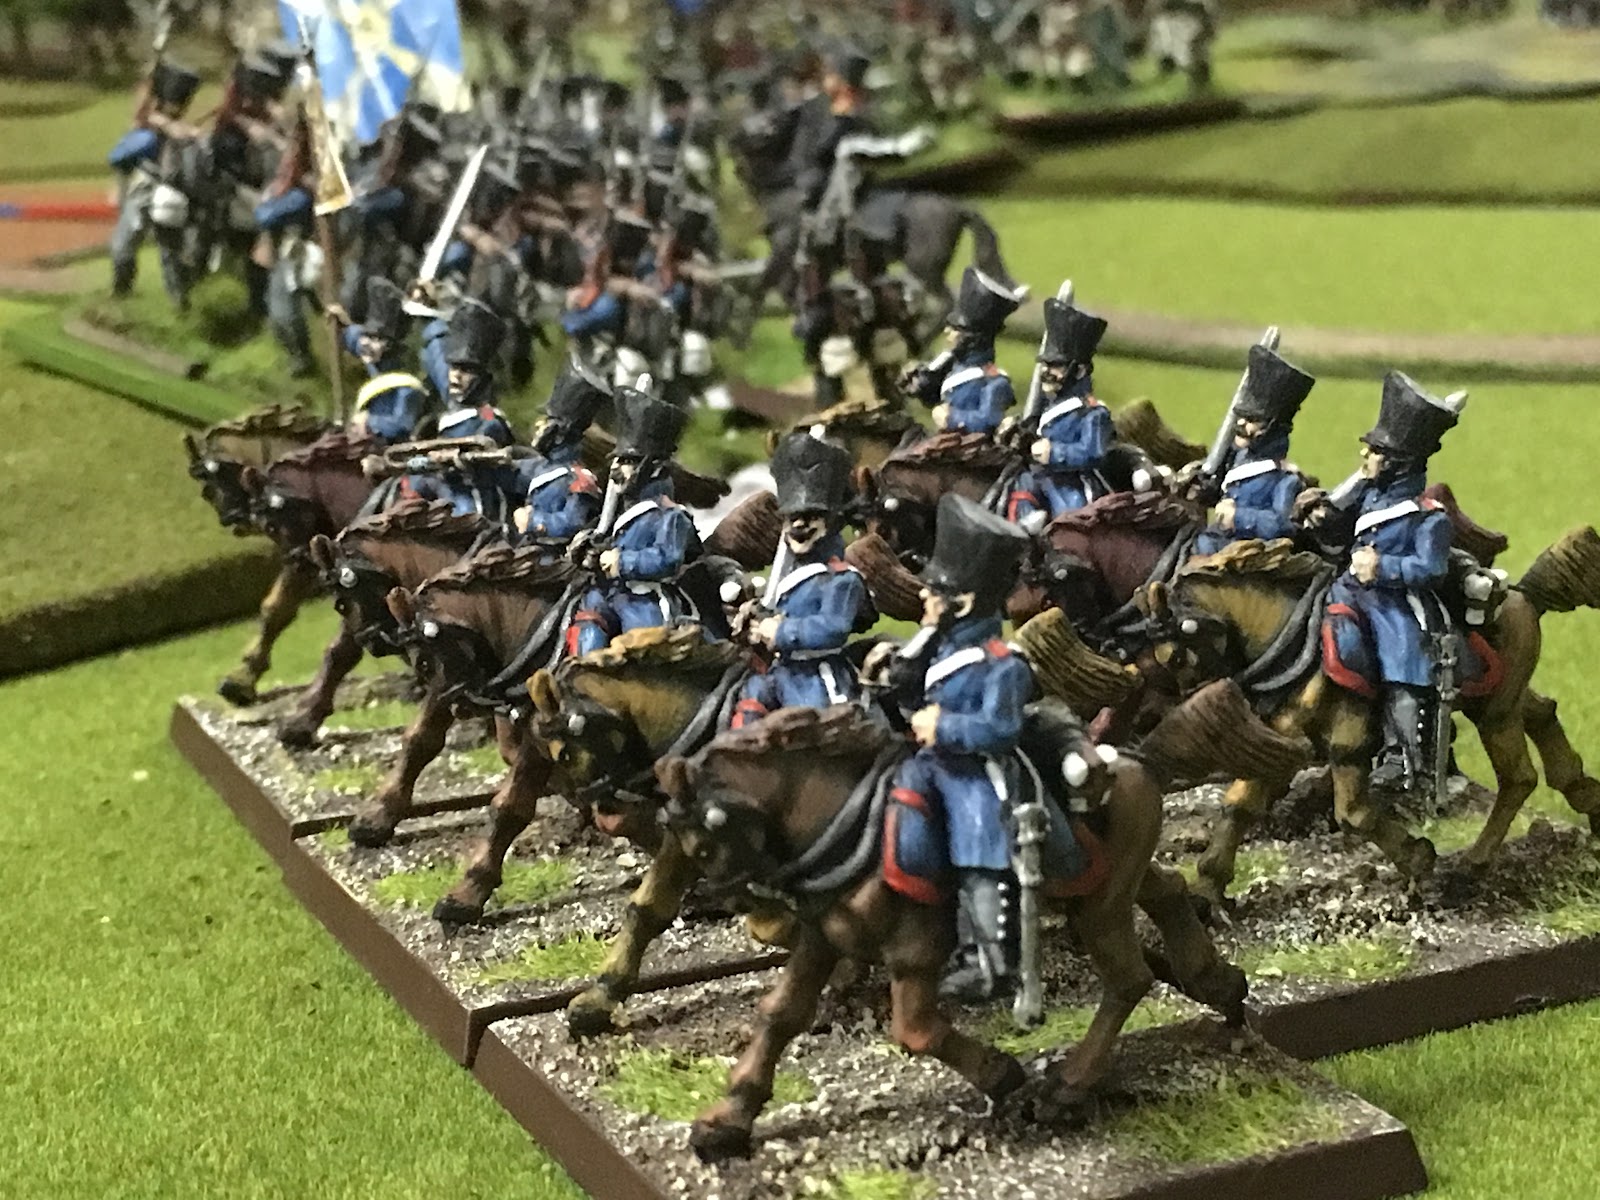
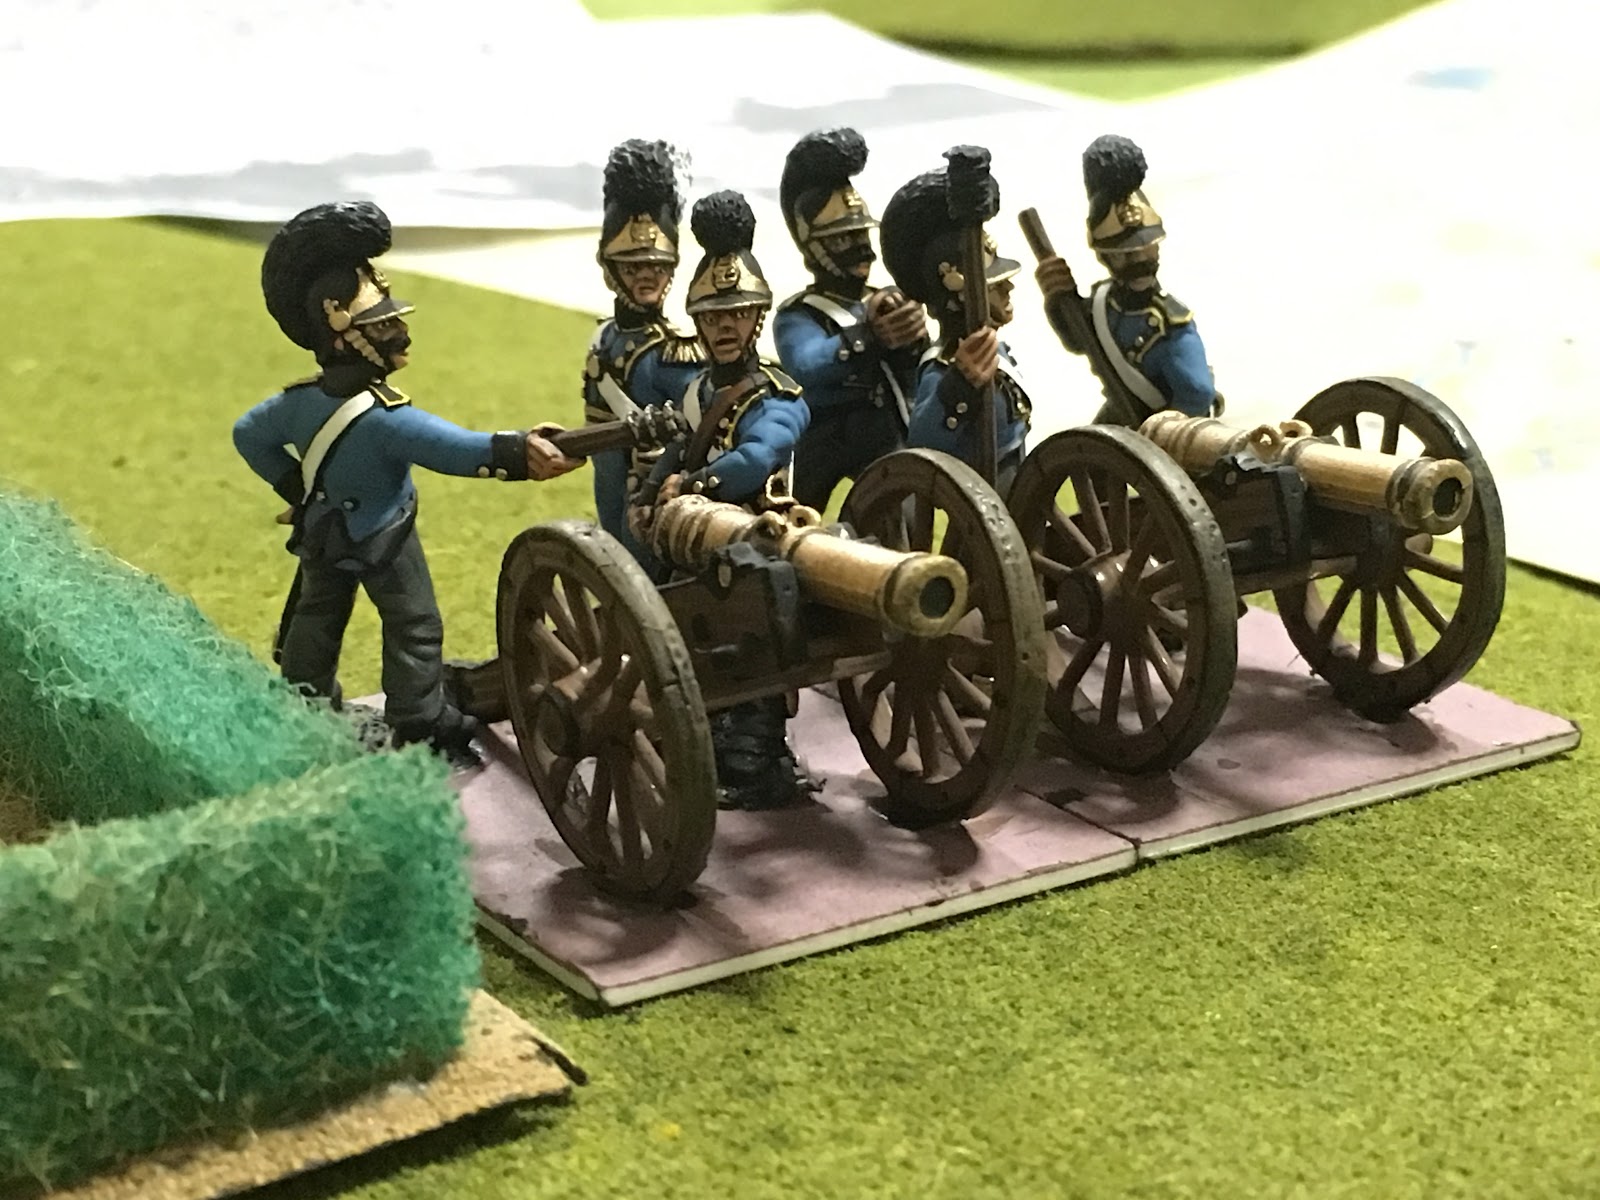
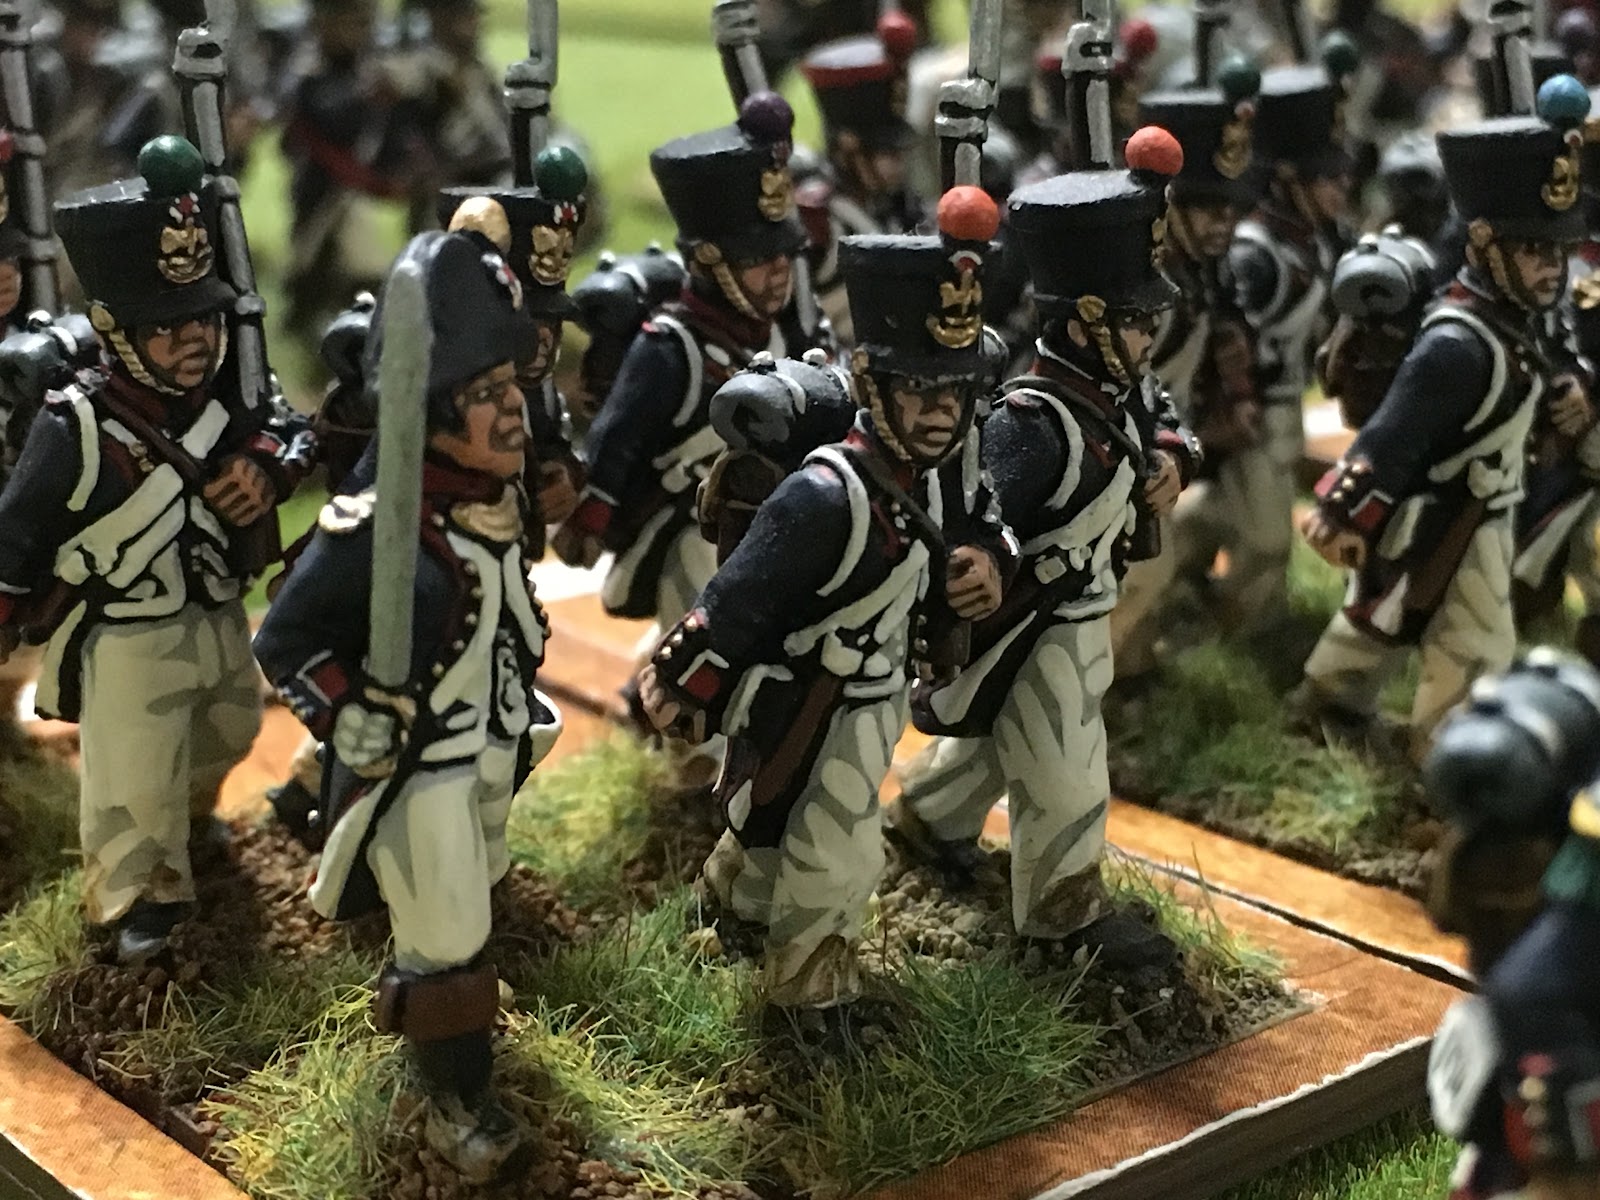
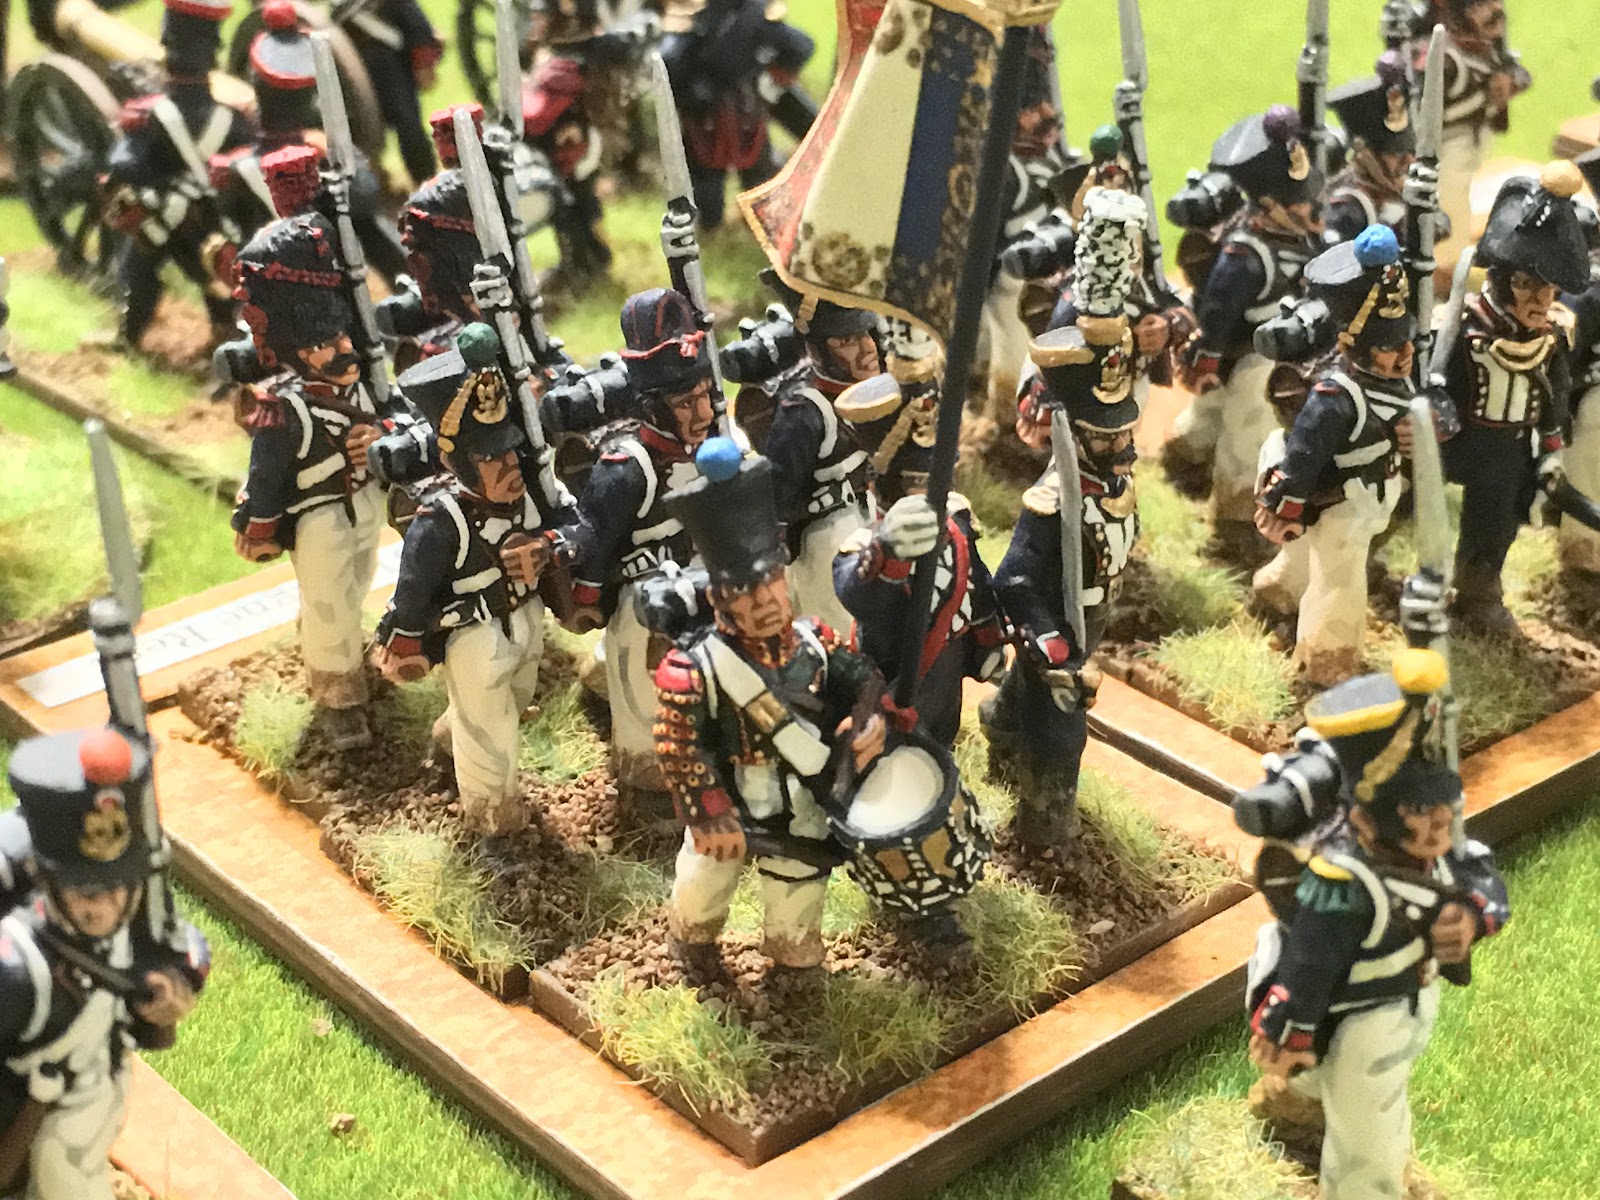
1a. NAPOLEONICS
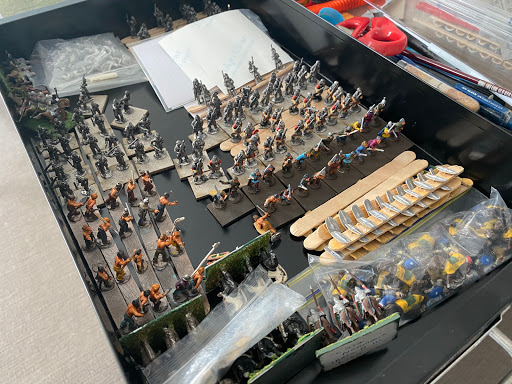
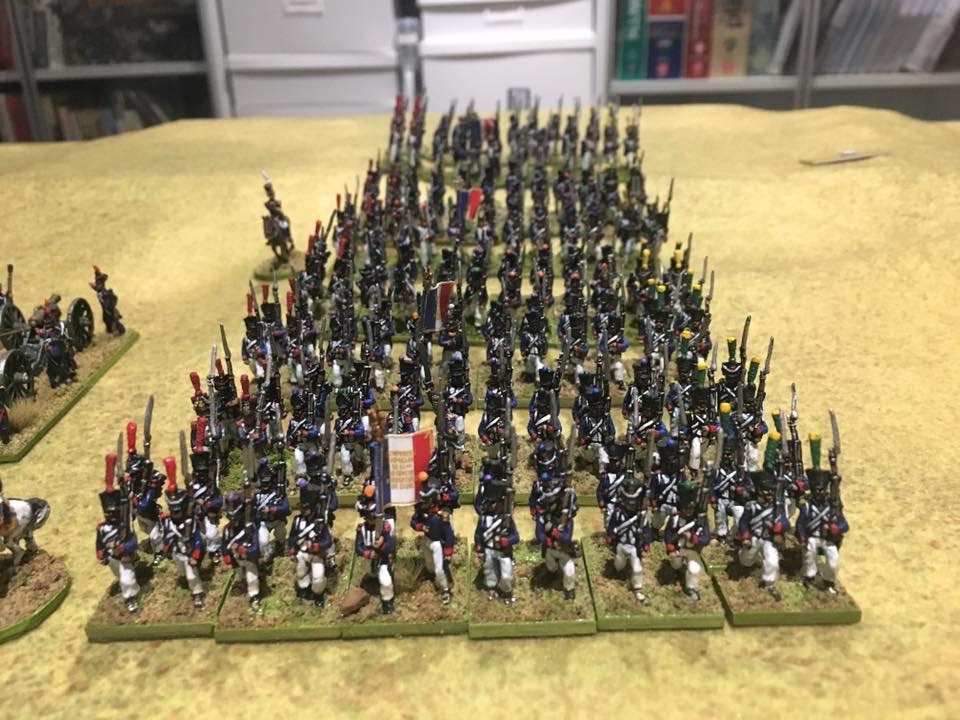
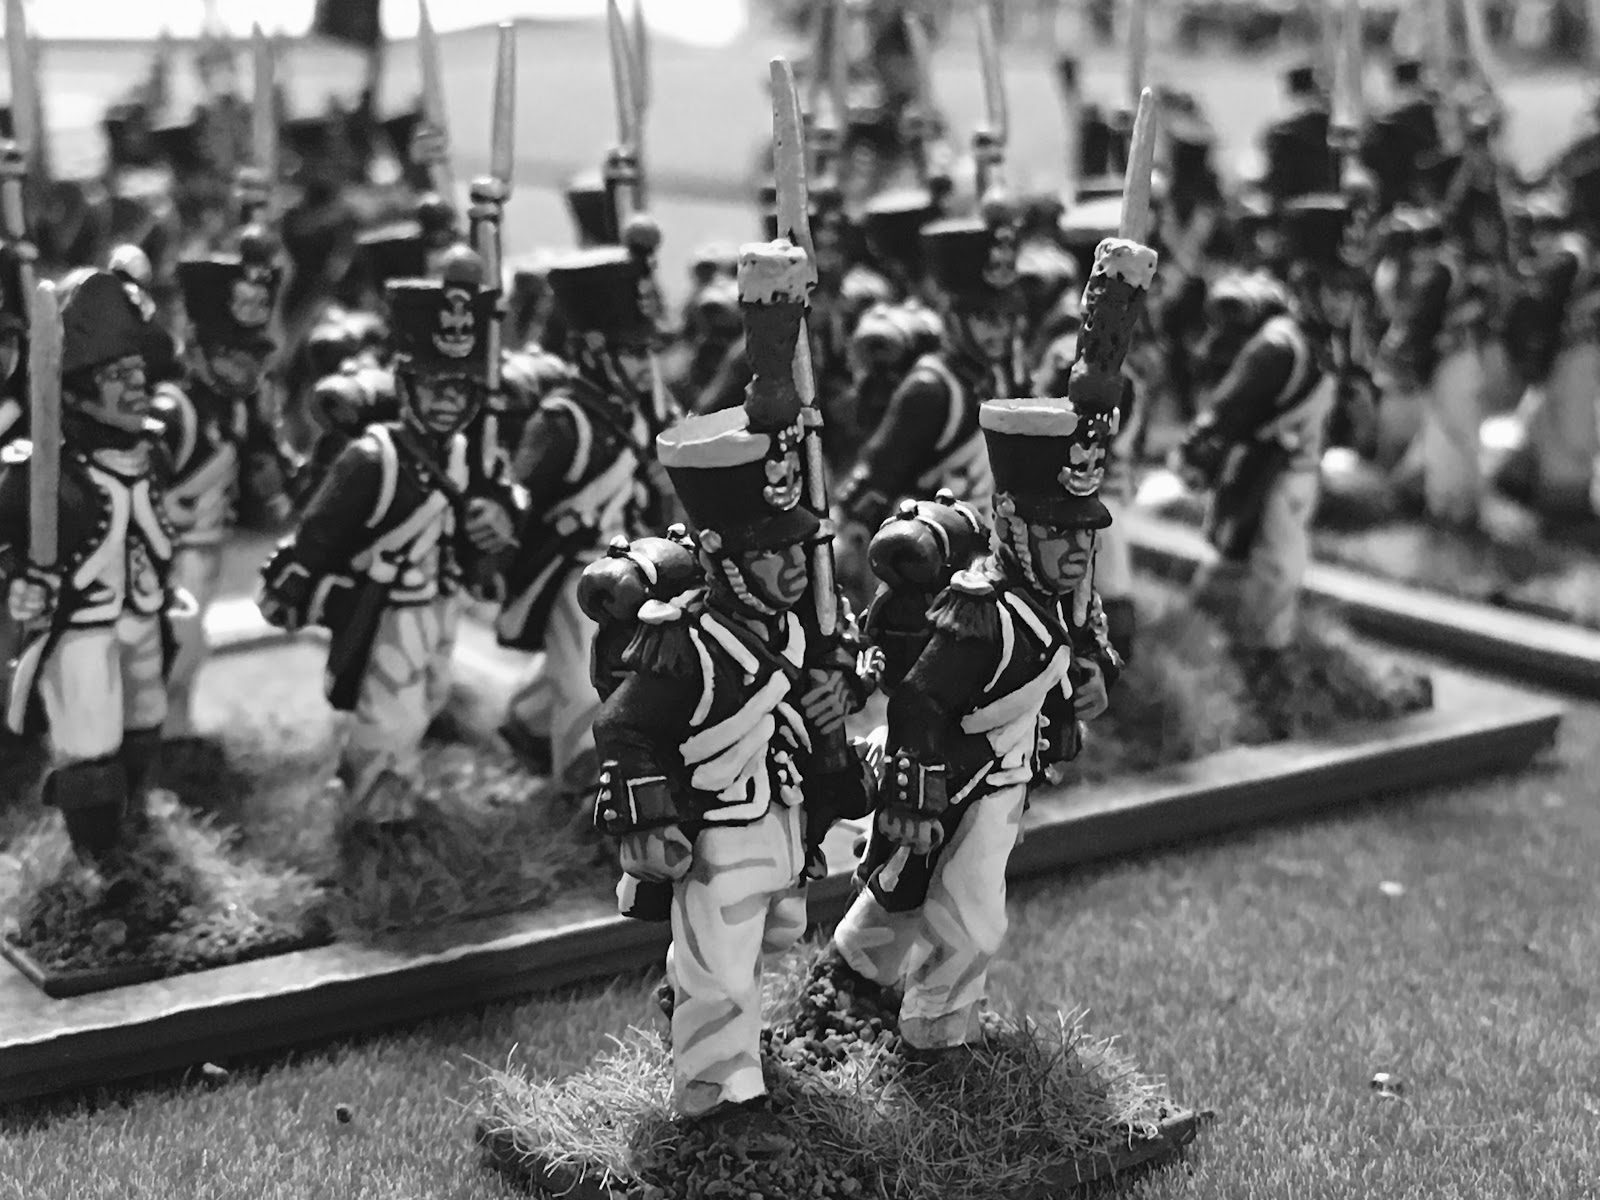
This has and will always be my Tier 1 project. After selling my 20,000 odd Adler Napoleonics in 2017 I have quickly acquired around 7-8,000 15mm figures.
These are made up of:
- brand new ABs direct from AB and Eureka Miniatures in Australia
- 2nd hand ABs collected from other wargamers off eBay and Facebook groups
- dodgy prepaints off Ebay from China (initial collections to get started)
I began building armies based on the 1815 campaign. Currently I have completed the 1st and 2nd Divisions from the French 1st Corps in 1815 under D'Erlon, the British 1st (Guards) Division, the British 3rd Division and some of the 2nd Netherlands Division.
GOALS:
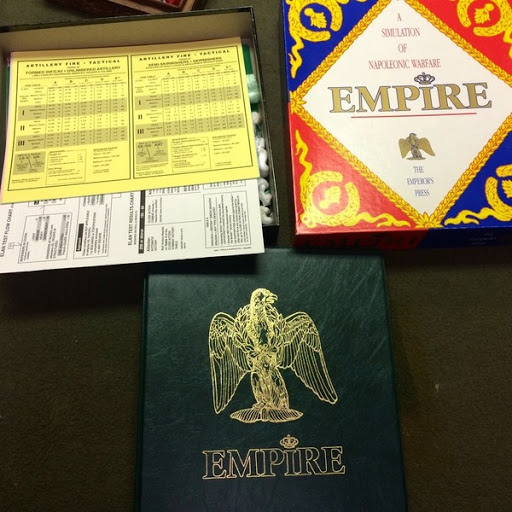
I have large goals for this project. I intend to build the majority of forces from the 1815 Waterloo campaign and 1812 Russian Campaign playing both solo using board games such as War and Peace and tabletop rules of Empire V. To do this I still need to work on solo rules for both the campaign and tabletop portions of the project.
RULES:
For rules I am still using Empire V as I still find these to give me the best results from a Napoleonic battle I have come to expect through 30 years of readings and research.
NEXT STEPS:
Final touches to British 1st (Guards) Division
1st Brigade from the 2nd Netherlands Division
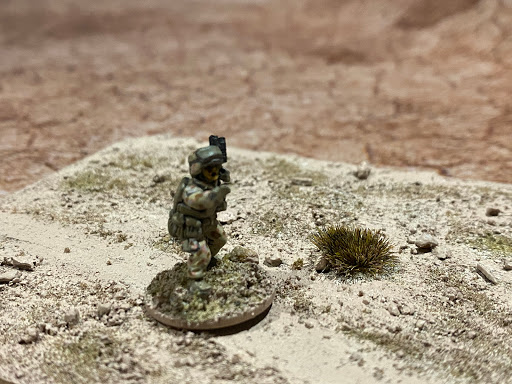
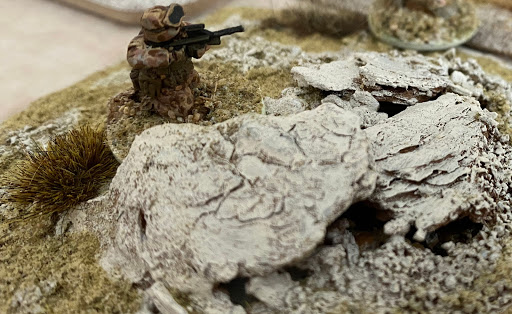
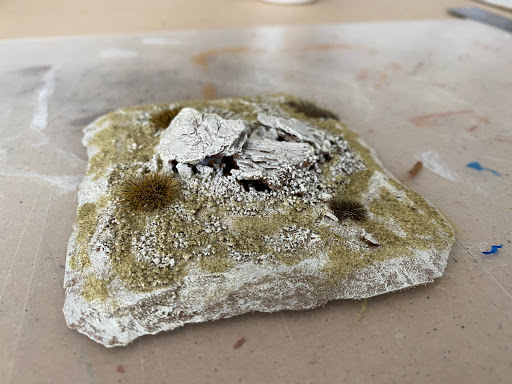
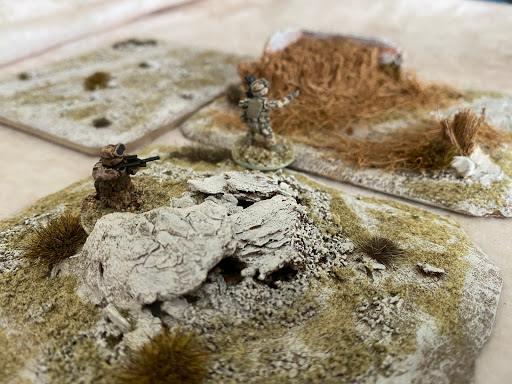
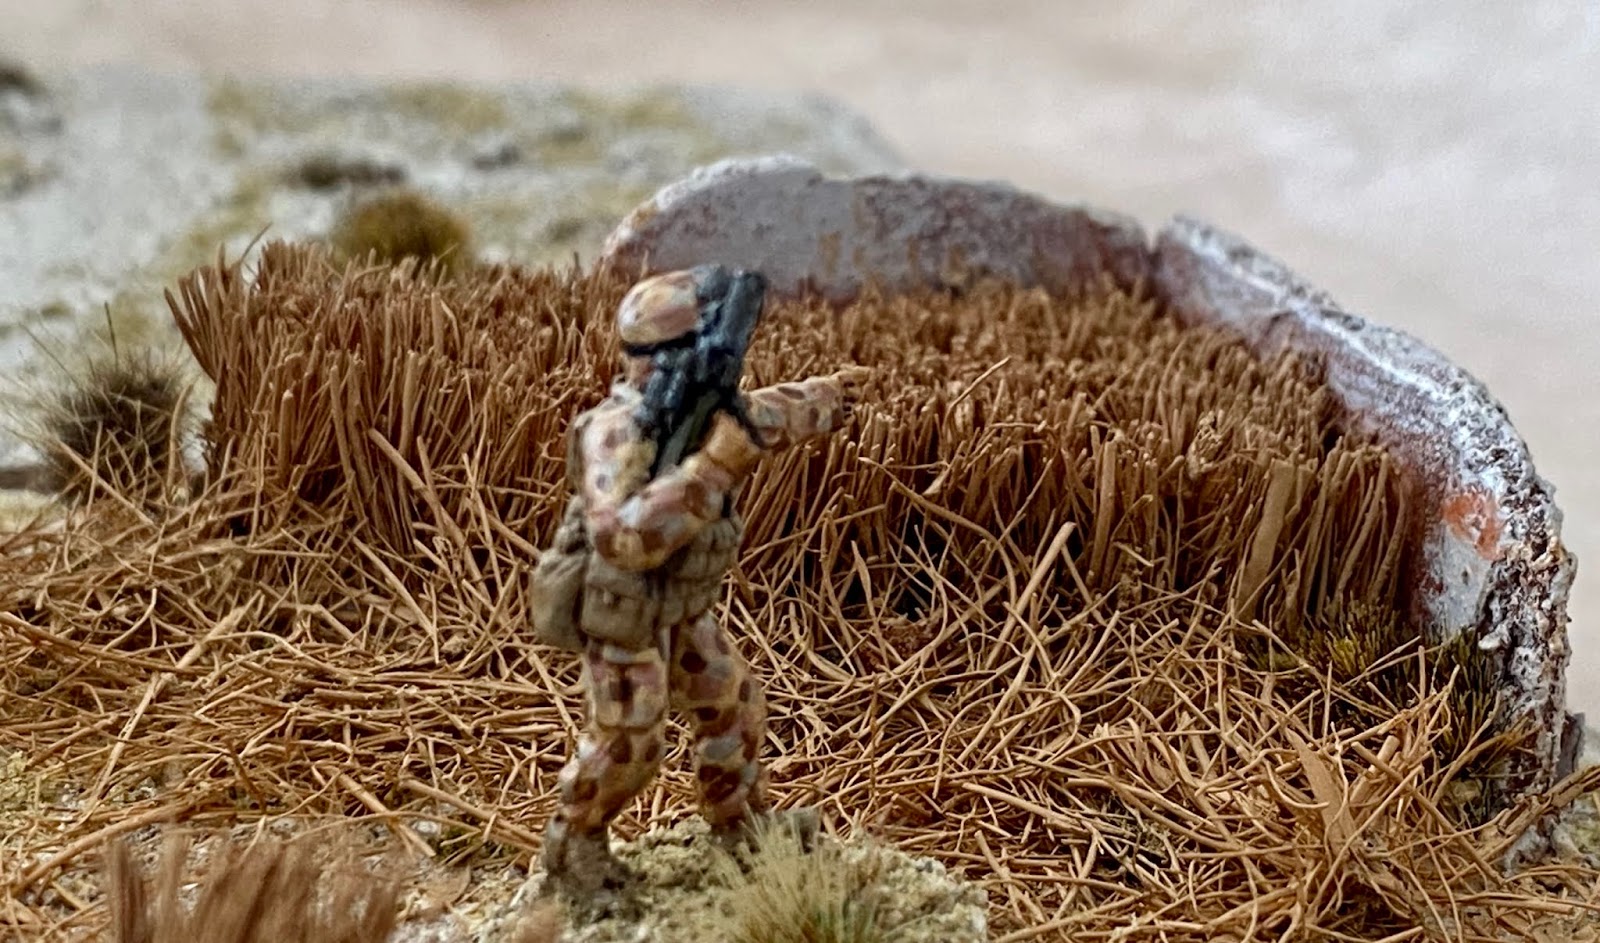
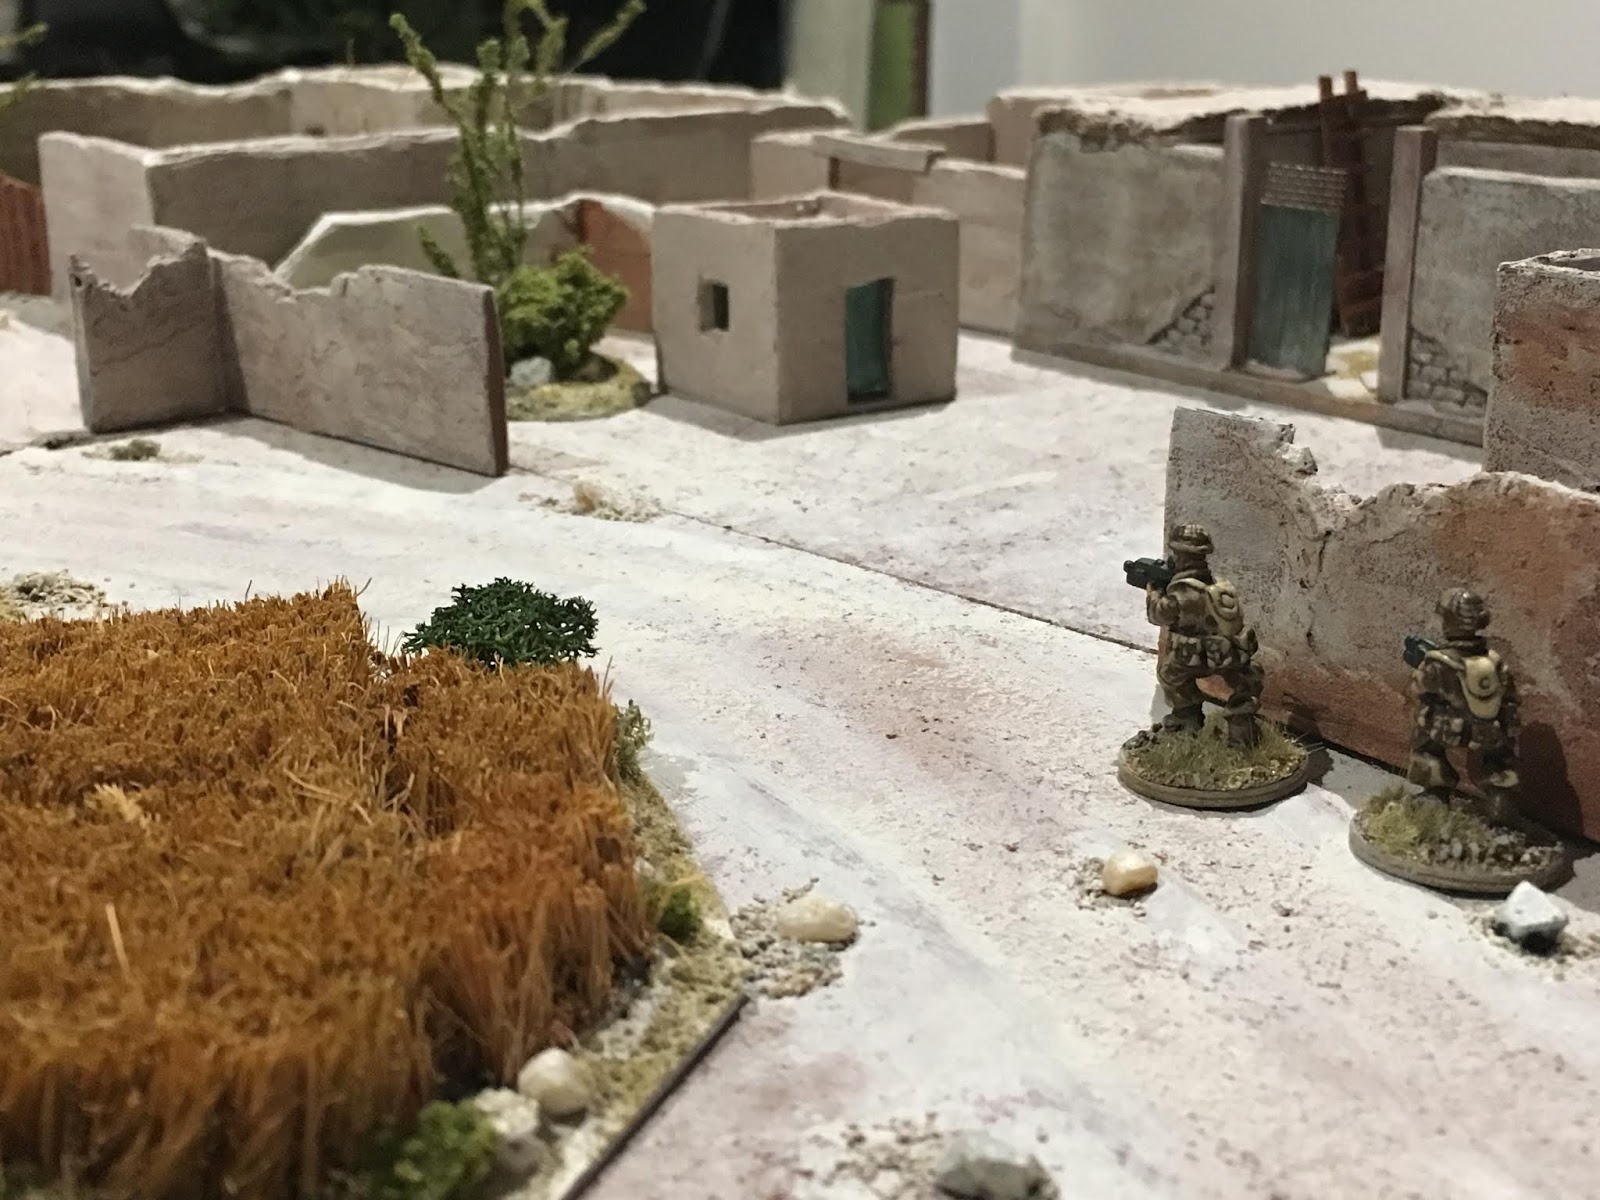
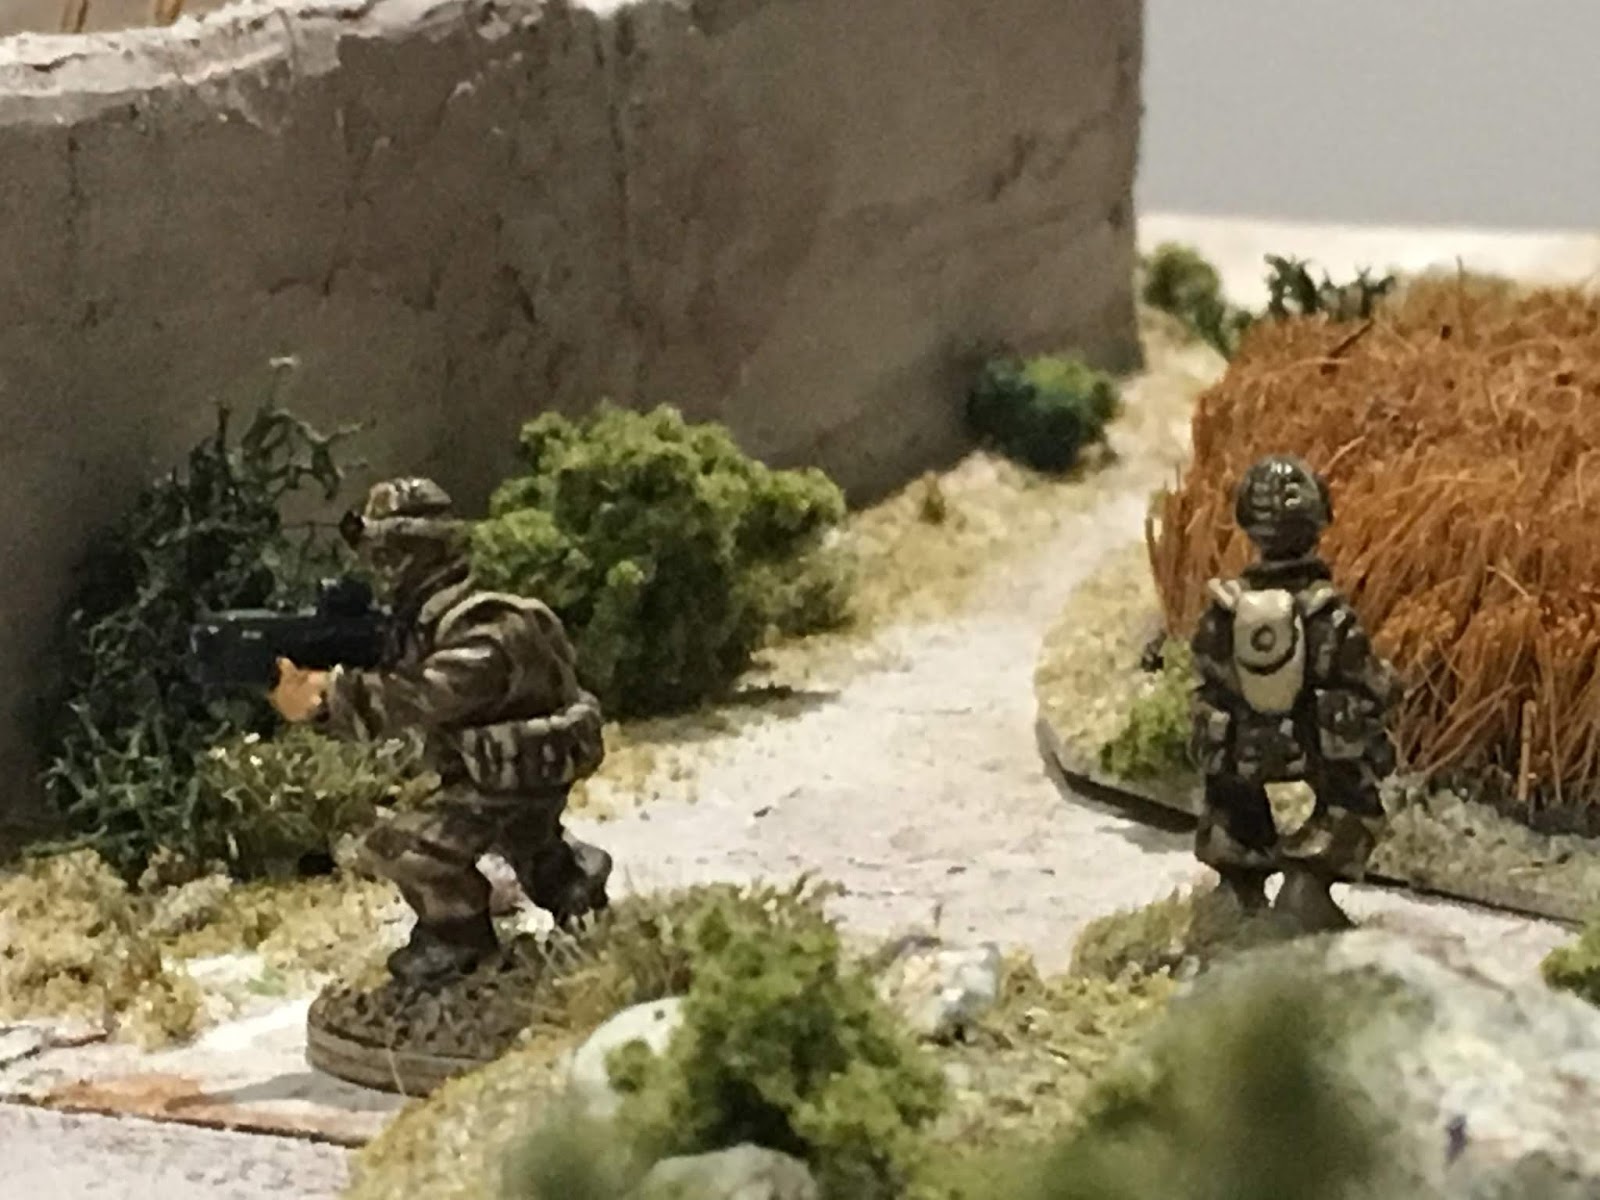
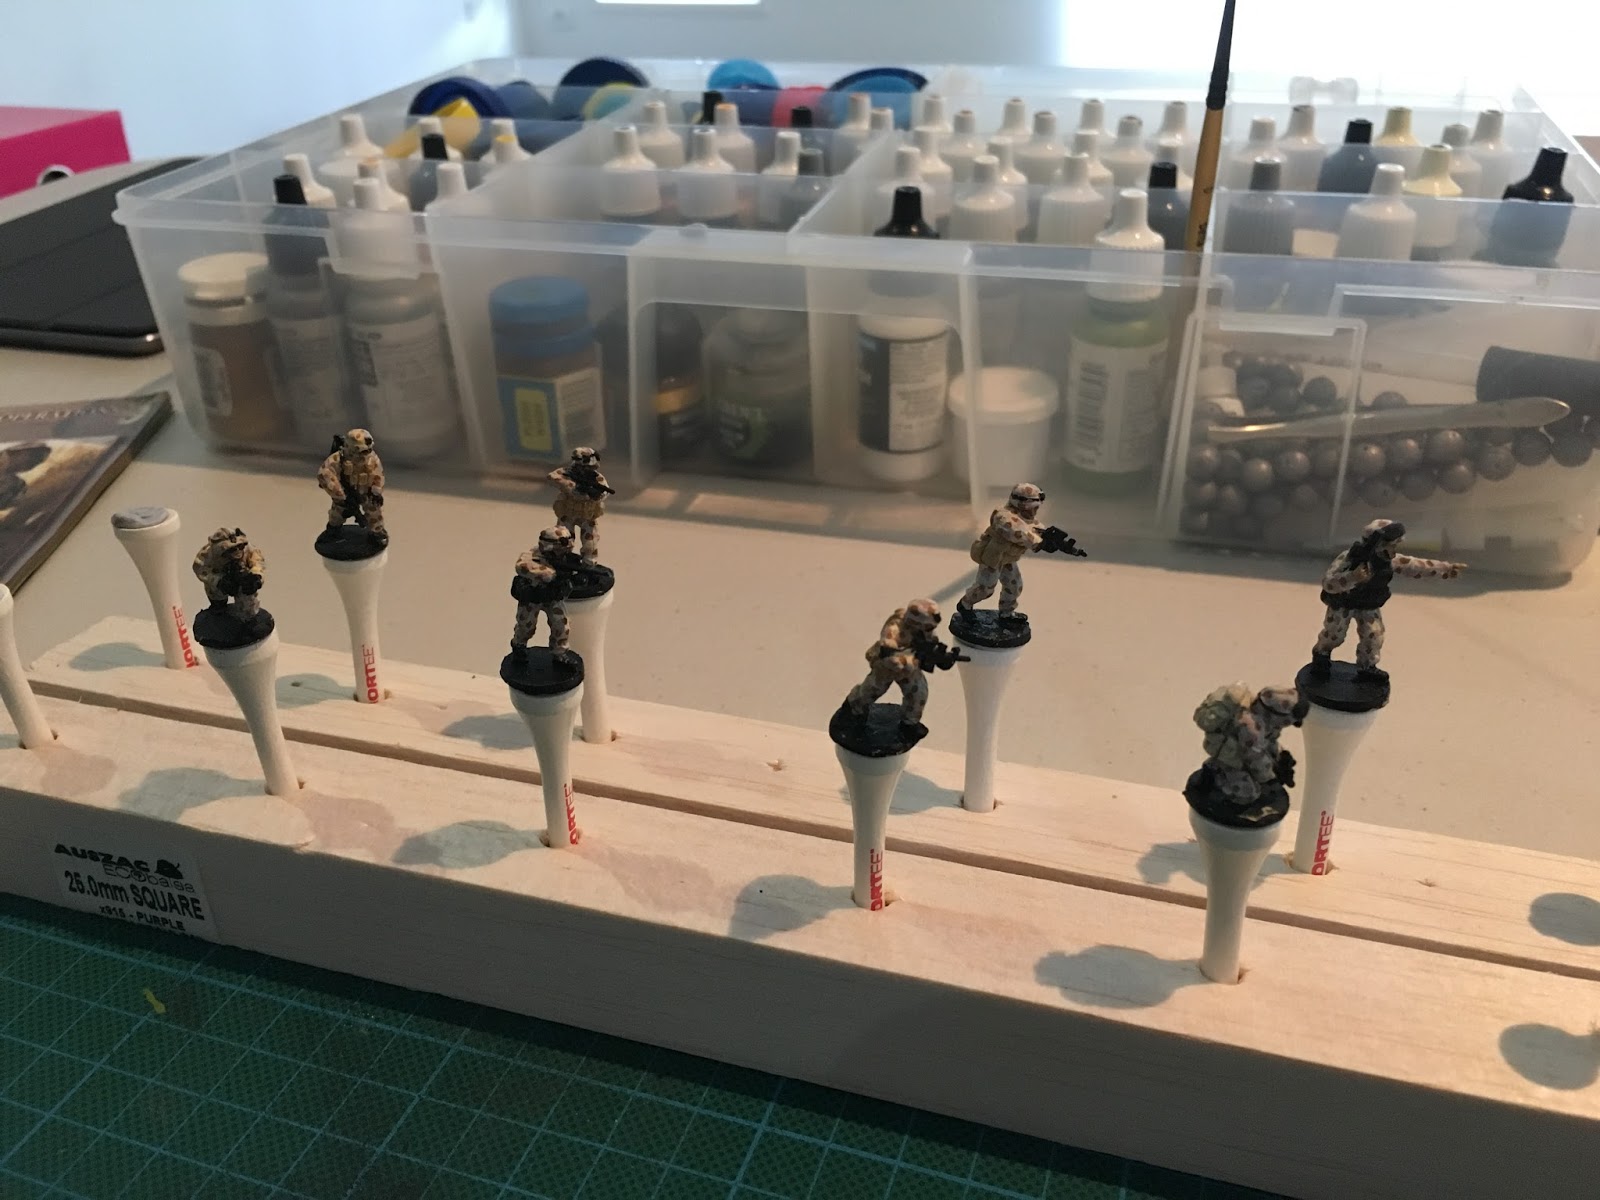
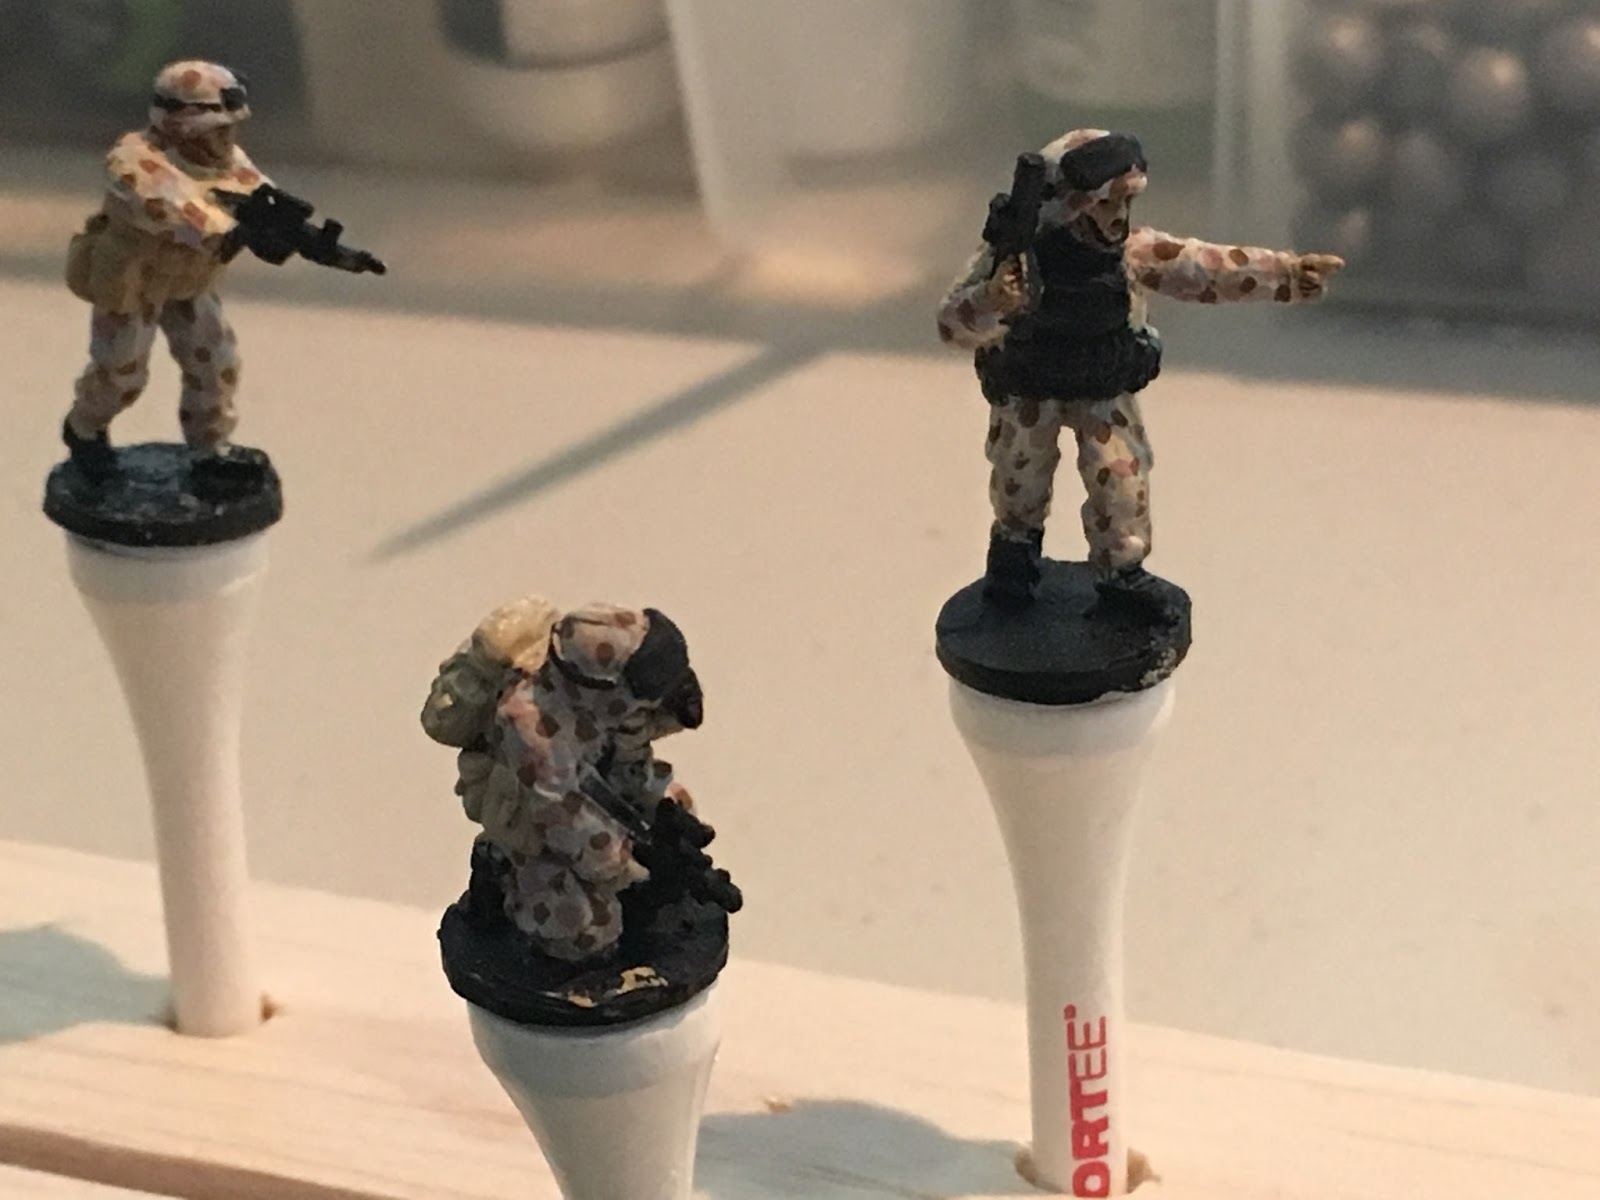
1b. MODERNS
My second Tier 1 project is ultra moderns gaming Afghanistan, Iraq and ultra modern Special Operations in 20mm. Over the past few years I have collected a good amount of infantry and vehicles primarily focused on Afghanistan around 2006-2012. I managed to complete a platoon of 2006 ADF and bought a 2nd hand group of British to go with a group of SEALs I had painted for me. I now also have a large collection of Taliban and various uncompleted attempts at a tabletop modelling Helmand province in Afghanistan.
Most of the figures are:
GOALS:
To campaign modern Afghanistan, Iraq and eventually modern special operations.
RULES:
The rules I use for this project is Spectre Operations v2.0. I was using Force On Force and still really like the rules but found the Spectre rules more individual which is what I like for this level of skirmish gaming. In time I may add a few house rules to cater for some extra flavor I like from some of the other rule sets I have picked up over the years - Chain Of Command Moderns, Force On Force, Black Ops, Skirmish Sangine and Point Of Contact.
For the campaign system I have various board based games such as A Distant Plain, BCT Command Kandahar and Enduring Freedom. I need to spend some time getting familiar with all of these but I have also begun work on my own system based on being in command of military forces in an area (AO) and juggling a roster of units and orders being passed down.
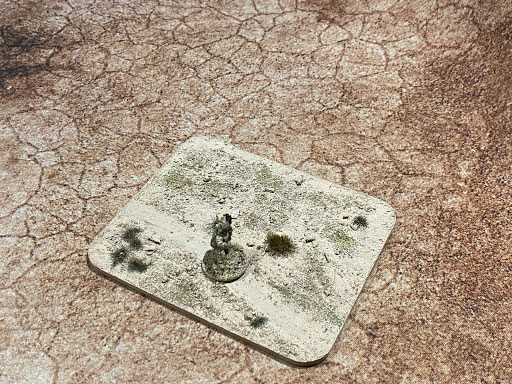
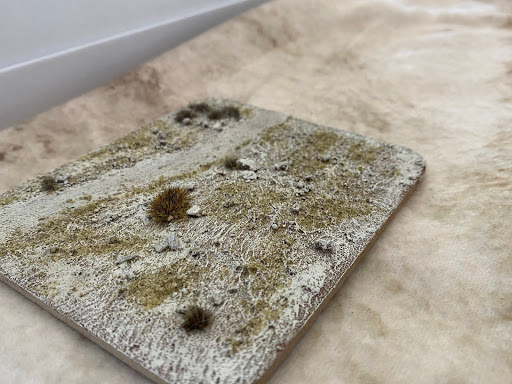
NEXT STEPS:
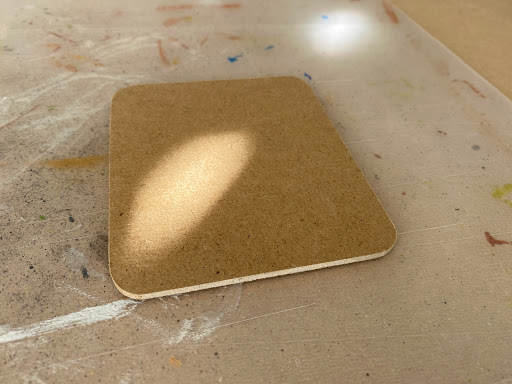
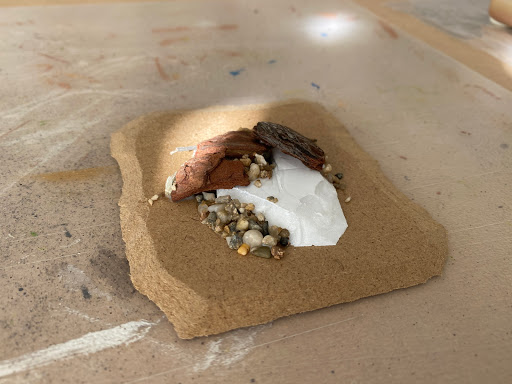
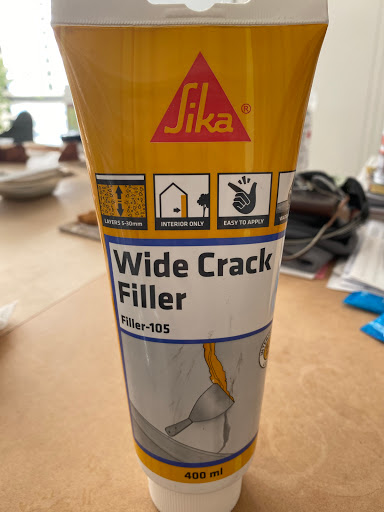
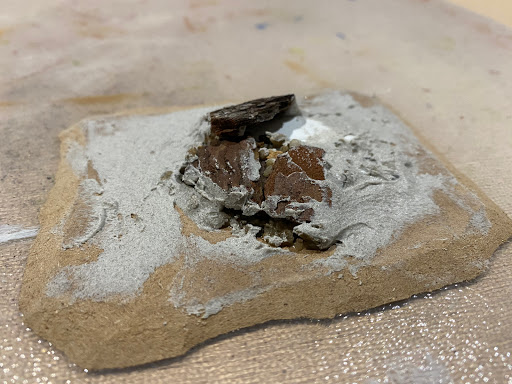
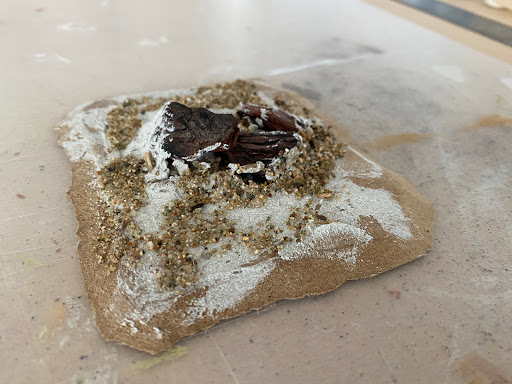
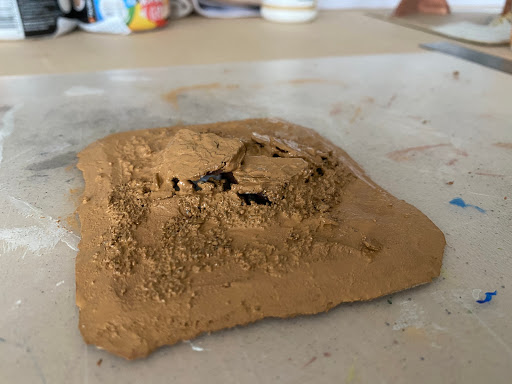
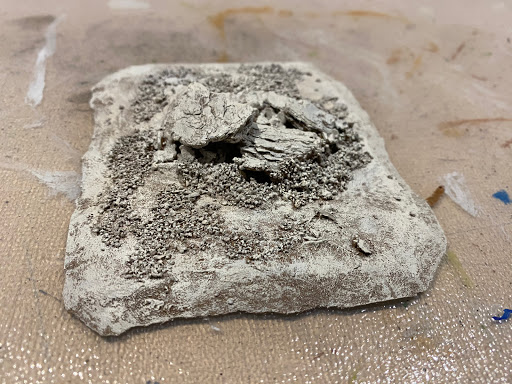
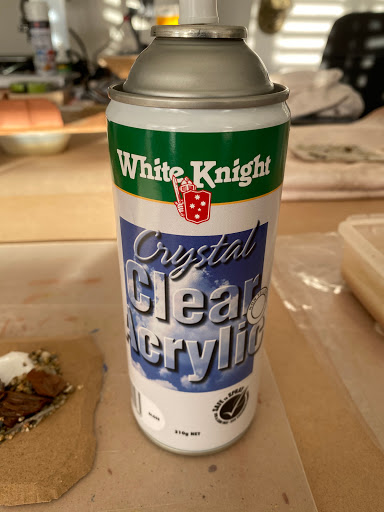
Continue developing terrain making skills through various scenic pieces
Continue rules learning games using Spectre
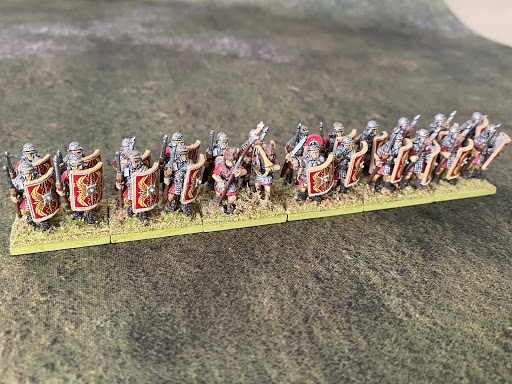
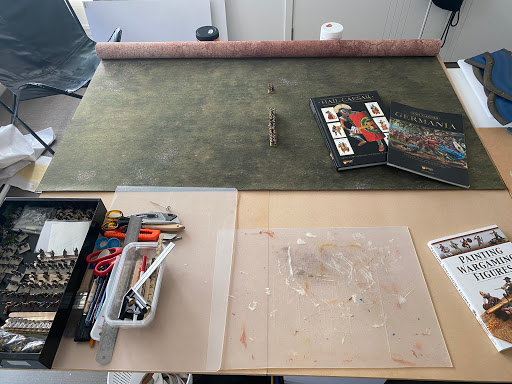
2a. IMPERIAL ROME
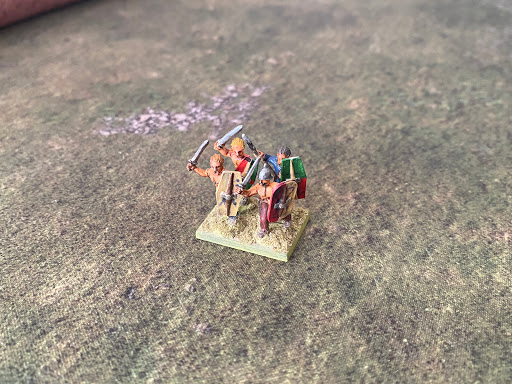
The first of four Tier 2 projects for me is based on Imperial Rome using the 15mm figures and the rules Hail Caesar. These past couple of years sees 1 cohort of legionaries built up and a few rule sets reviewed with a single set chosen. My focus for this period is in Gaul and so a few dozen Gauls have been purchased and painted up.
GOALS:
Campaign to generate tabletops battles loosely based on Rome vs Gaul.
RULES:
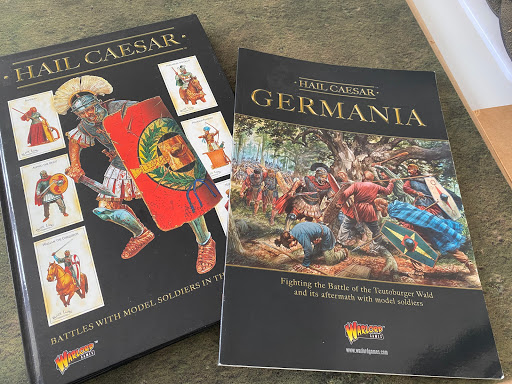
Black Powder Hail Caesar
NEXT STEPS:
Finish 2 units of Gauls - awaiting their basing and shields
2b. THIRD CRUSADE
This project is based on the period around the 2nd and 3rd Crusade and the fall of Jerusalem and to date all I have done is to build a unit of foot and a unit of mounted knights. The historical reference for this project is very liberal for me seeing as its a Tier 2 project.
GOAL:
To campaign loosely based on this period using a board game for campaign movements and Hail Caesar for tabletop engagements of 15mm figures.
RULES:
Black Powder Hail Caesar
NEXT STEPS:
Build more units of crusader foot and horse
Explore board games of the period to choose a system to use going forward
2c. SCI FI
This Tier 2 project is very early in its life having just purchased a 3d printer and producing a bunch of test starships.
GOALS:
To campaign large fleet actions but also incorporate 6mm planetside combat and maybe even 15mm-28mm special forces skirmish type actions as well.
RULES:
For the campaign rules I am yet to find a good system but for the fleet based battles I have been experimenting with Full Thrust and its addons and for the planetside battles a combination of Star Grunt II and Tomorrow's War.
NEXT STEPS:
Build prototype fleets
Get more familiar with Full Thrust rules
2d. ENGLISH CIVIL WAR
Another Tier 2 project still in its infancy with only 1 unit of Royalists completed and a set of rules selected to use.
GOALS:
Campaign the 2nd half of the war in 15mm
RULES:
Black Powder Hail Caesar
NEXT STEPS:
Build a Parliamentarian
So there it is. Where I am for all the projects I have chosen for my lifetime. Stay tuned for regular updates as well as a Monthly Progress Report on the 1st of each month.